

Video content is an exceptionally effective tool to engage, educate and influence customers, whether it’s a course or a demo or a simple introduction.
Technology has made this simpler to record at an acceptable quality, with Hi resolution cameras and microphones available on most phones, but that hasn’t removed the personal barriers. Getting comfortable in front of a camera takes practice, confidence and planning, so Follow these simple steps to record your first video.
What you do with it is up to you, the most important thing is just doing it
Plan out your video content
Who is the course aimed at
If the course is part of a content marketing strategy you probably have a very clear idea of who the viewer is, what they are interested in, their educational background and needs. If not, you should think about the audience before you start writing.
- Is this their first language?
- How well educated are they,
- what are they looking for from the video
- what are their issues.
This will affect how you write and what you see to present if you want your audience to be engaged and influenced.
What are your objectives for the course and what are the outcomes you are hoping for.
A video should seek to influence its viewers in some way, whether that is to gain knowledge, give them confidence to try something new, or to change the way they think, and how you approach your course will have to reflect that. A video explaining how black holes work will be very different to one explaining how to install windows or how to recruit a software developer.
How long is the course going to be?
Research shows that the optimum length of a video is in the 3-5 minute region, but this is very dependent on your audience. longer-form content suits education and detailed explanation, but viewers will drop off. youtube’s research suggests that you are likely to have lost 40-50% of your viewers after 5minutes, down from 75% after 2 minutes. However, an engaged audience is likely to stay longer, so it depends on your objectives.
How does this fit into my business?
Your product/marketing strategy, customer journey and pricing strategy will also affect how you approach the content if you are doing this to create revenue or leads.
Where are you going to use the videos?
Your choice of distribution platform will impact on some of the choices you make later, especially with video formats and sizes. If the video is going to be used on Youtube or an e-learning platform, they will want video uploaded in a specific format, and it is much easier to record video in the right format than to try and convert it at a later date.
How am I going to promote the video?
Your video needs to be seen and you can’t really rely on people stumbling on to it, so it needs to be promoted. this may have implications for your content as well. Guest collaborators, quotes and content are a highly effective tool for promotion and can bring real-world context to your videos. at the very least you can rely on two people promoting your video rather than just one!
What’s the Story?
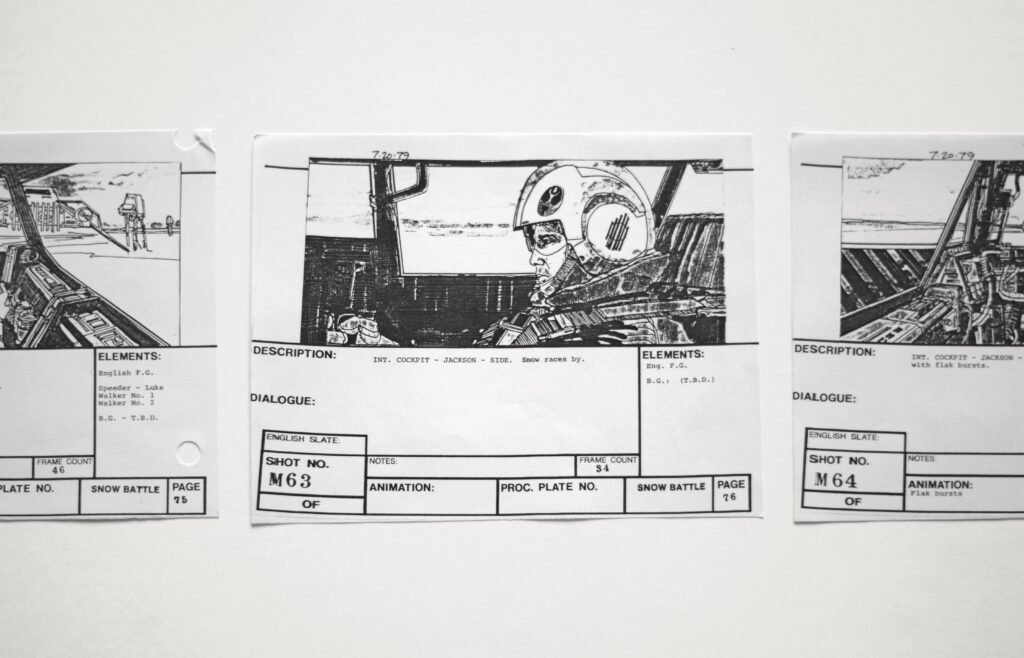
In order for content to be effective it needs to be relevant and memorable. Traditional storytelling tools are very effective at achieving this, having been shaped by thousands of years of oral tradition. Our minds are already well attuned to this, we have been learning from stories since we were kids and continue to engage with storytelling in the media we consumers, whether its books, films or well-written journalism. It’s also why case studies are such an effective tool in education and marketing
Storytelling uses a character’s journey to illustrate how we can overcome difficulties or deal with situations.
Character
Having a clear definition of the character in the story helps the viewer or reader engage with the content because there is a personal connection. we can see ourselves in the character and empathise. This is why its is essential to understand who your audience is and and what they are trying to achieve.
Conflict
The conflict is the problem that the character is seeking to resolve. It defines their circumstances and helps illustrate how the concept you are teaching is relevant to your audience.
Resolution
This is the approach to take to solve the problem. Here you describe what the solution is and illustrate how the solution can be implemented.
Payoff
This is the outcome and demonstrates the successful conclusion. this section illustrates how the character’s situation has been improved by implementing the solution, and demonstrates that the outcome outweighs the cost and time spent implementing the solution
The depth to which you go with the solution will depend on your preferred outcome.
Choose your format
Your choice of format will depend on your audience’s media preferences, the resources you have to hand, and your own personal preferences.
The most important step is to start. You can learn and develop as you go, refining your format based on feedback and adding resources as you go, so the best place to start is a format that you are comfortable with.
So what are your options?
Content only or content with music.
This option is the easiest. All you need to do is create a slidedeck with detailed content, and add page transitions every 30 seconds or so ( depending on the average reading time of the page). This is simple, suits people who are not comfortable speaking into a microphone or camera, or where you feel your accent may impact how the information is received. But it’s not very engaging.
Content with voice over
In this case your slide deck would be sparser as your voiceover will carry much of the content to the listener.
Content, in this case, could be a slide deck, a screen share if you are demonstrating how to do something on a computer, background video or images.
It can also include animations that help illustrate your story. This takes a little more planning and time as you will need to rehearse your voice over and timings in advance, especially if you are speaking over a video or animation. You may also need to edit the video or re-record sections that you are not comfortable with.
I’d suggest getting a third party to check over any parts that you don’t like. we all have a tendency to be self-critical, and what you might consider a major issue might not even be noticed by 99% of the people viewing the video, especially if you are speaking to a global audience.
In screen video.
As you get more confident, you may decide that your audience will engage more if they can see the presenter. Most programmes like Loom will give you the option to have a video stream overlay on the screen share, which works well with presentations and screen shares, but just be conscious that your onscreen content needs to be organised to ensure that your picture isn’t covering essential parts of your content.
Full screen video
Where you are the story or skills are physical rather than intellectual, full-screen video works well. This ensures that the viewer is focussed on you alone rather than the content, but requires more equipment and processing as you have more aspects to align and edit. You also need to be more mindful of your surroundings, lighting, background ambient noise etc.
None of these approaches are right or wrong, they are all equally valid for specific objectives, budgets, audiences and presenter preferences. The right choice for your first video is the choice that gets you started. You can experiment with different approaches as you get more confident or experienced, but no-one can learn from you unless you create a course, so pick the one you feel comfortable doing first, and see where your creativity takes you later.
Getting Started with Loom
If this is your first video, or you just want to create a prototype to understand the process, online tools like Loom are very effective and cheap options.
There are a number of similar products but Loom is well set up, easy to use and free, so makes a great starting point for beginners. Loom also offers good training videos to help new users create and share their videos, so you get set up faster.
If you prefer a more DIY approach for full video you will need a good camera, stands, lighting, microphone, video editing equipment, or access to someone who has these facilities, requiring a significant financial and time commitment on your part.
Which Camera?
Your choice of format, delivery platform and budget will have a significant impact on the technology, if any, you need to record video. For small businesses getting started in eLearning, the focus is likely to be on content with voice over, possibly with a video feed overlay as you become more confident.
Just as an aside, youtube does not accept audio formats, so if you just wanted to create audio it still needs a visual component and be recorded in a video format like MP4 or MOV.
If you are using a screen share tool like loom to create your video, then chances are you don’t need anything else. Even if you want to add in a video overlay, your laptop’s webcam will probably be more than sufficient. Apple users can also record on Loom via their ipads and iphones if you want, but a stand would be recommended.
In reality, the way you use the video will have the greatest impact on which camera you need. Loom can record in 4k, and youtube will let you upload 2k files, but they will be huge. for the vast majority of applications, especially where you are using text or images, 720 is perfectly acceptable and will make your videos easy to work with.
Youtube videos set the standard, and most companies that offer video hosting and distribution will follow Youtube’s standard. That means recording in 720P with an aspect ratio of 16:9 and saving the files in MP4 or MOV ideally.
If your webcam doesn’t support 720 and allow recording in 16:9 as a minimum it’s worth updating it.
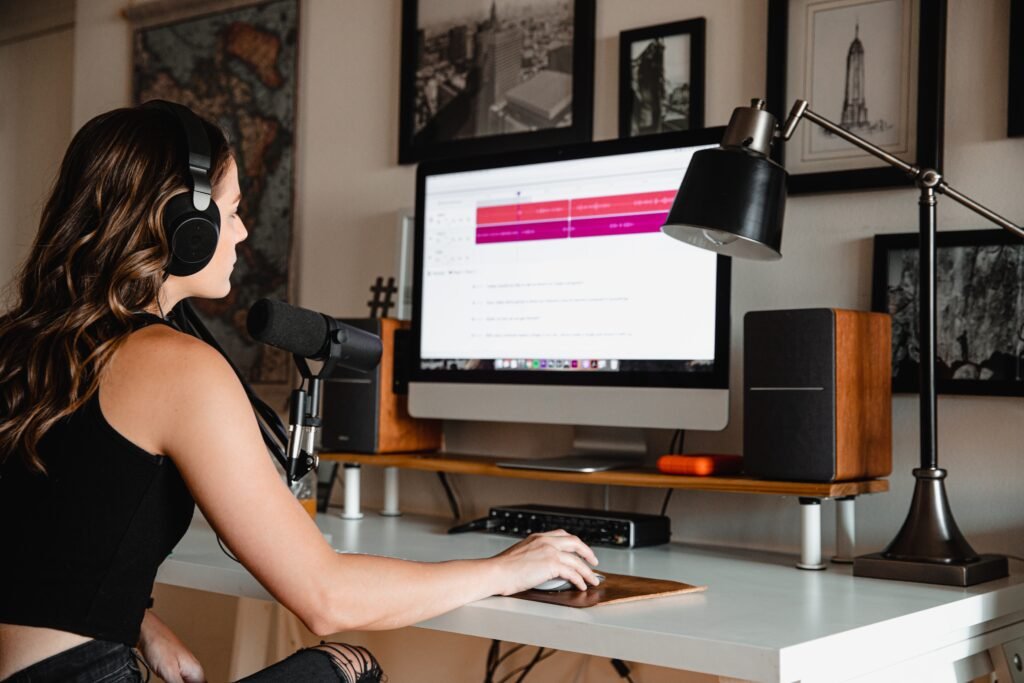
Getting the sound right
Regardless of the approach you take, the quality of the sound you record will have a major role on the audience’s enjoyment and engagement. there is nothing more off putting and distracting than an indistinct voiceover, with background noise pops, crackles and bangs, so it makes sense investing in a microphone.
There are two main choices. Studio mikes are large, stand mounted microphones, often protected by foam covers or shields to protect from pops and harsh noises. they are ideal for groups or interviews and are very sensitive, offering very high quality sound. they are expensive and need a quiet environment to work in as they are sensitive to background noise, and you need a bit of space on your desk for the mic.
The other option is a lavalier mike, the clip on mikes you see reporters use. As these are on the speaker, it’s easier to move around without affecting the sound and they tend to be more resistant to background noise and are cheaper.
The other thing you need to consider is what you are using to record the sound. assuming you are using a tool like zoom, you will need to get a microphone that is compatible with your laptop, has it got a mic socket or will you need a UBS compatible mic for example. This is especially true with phones, now that Apple has removed the mic socket.
Write and rehearse your content
Prior preparation will greatly increase your enjoyment of the recording process so it’s well worth while putting in the prework. Approach the recording process like its a dress rehearsal. You want it to be perfect, but there is no audience, so if you do make a mistake, you can go back and correct it.
Try to avoid being a perfectionist though, the vast majority of your audience won’t notice or care about small mistakes, everyone makes them. it’s more important to get content out than making it perfect.
You probably have your own process for creating content, but this is mine.
Firstly, I outline the main subjects I want to cover in the presentation and the order in which I want to cover them.
Secondly, I write the content out as though I am writing a speech. If you are going to be doing a voice over, you want the audience to focus on what you are saying, not what’s on the screen, and this will therefore be where the majority of the content will come from. It will also make it easier to record if you know exactly what you want to say.
Next I consider what’s going to be on the screen when I talk and prepare slides or diagrams accordingly, this way the visuals support the audio rather than guiding it, keeping you as the centre of attention.
Once you know what you want to say and what’s going on in the video, run through it several times. Does it make sense? does it flow? if not, make changes now before you record.
Practice your speech several times before you record it, so you are comfortable with timings, phraseology and the logic of what you are saying.
If you are new to recording videos, feel free to record one or two slides just to get a feel for the way that it works.
Recording your videos
This is the important part, actually recording the videos!!
Find a quiet place where you are comfortable and can speak freely without being interrupted. Ideally you should be standing up. Sitting down compresses your diaphragm restricting your airflow and makes you feel more constricted, but if it’s the most practical choice, then it’s acceptable.
Don’t try to record a 60 minute video in one go. Ideally your video should be short, but if you prefer longer content, it doesn’t have to be recorded that way. Recording small sections makes it easier to re-record sections you aren’t happy with. Stitching together lots of small sections is much easier than trying to snip out bits of audio and video content.
Similarly, if you can identify natural breaks, for example slide transitions, and build a 2-3 second gap between the two, it makes it much easier to trim and replace sections if you do want to re-edit later.
Ultimately the same rules apply. Don’t be too critical and if you are concerned about something, get an independent view. A 90% perfect video online is MUCH better than a 100% perfect video sitting on your computer.
A video should seek to influence its viewers in some way, whether that is to gain knowledge, give them confidence to try something new, or to change the way they think, and how you approach your course will have to reflect that. A video explaining how black holes work will be very different to one explaining how to install windows or how to recruit a software developer.